
But I was worried that with our clients coming and going and many of the employees occasionally bringing their children to work, it just wasn't a good idea for us to have loaded handguns in our desk drawers or computer bags. So I started looking for solutions. I needed something that could be mounted securely under my desk, use a simple combination to open and that would accommodate a medium framed automatic pistol.
I came up with two viable options
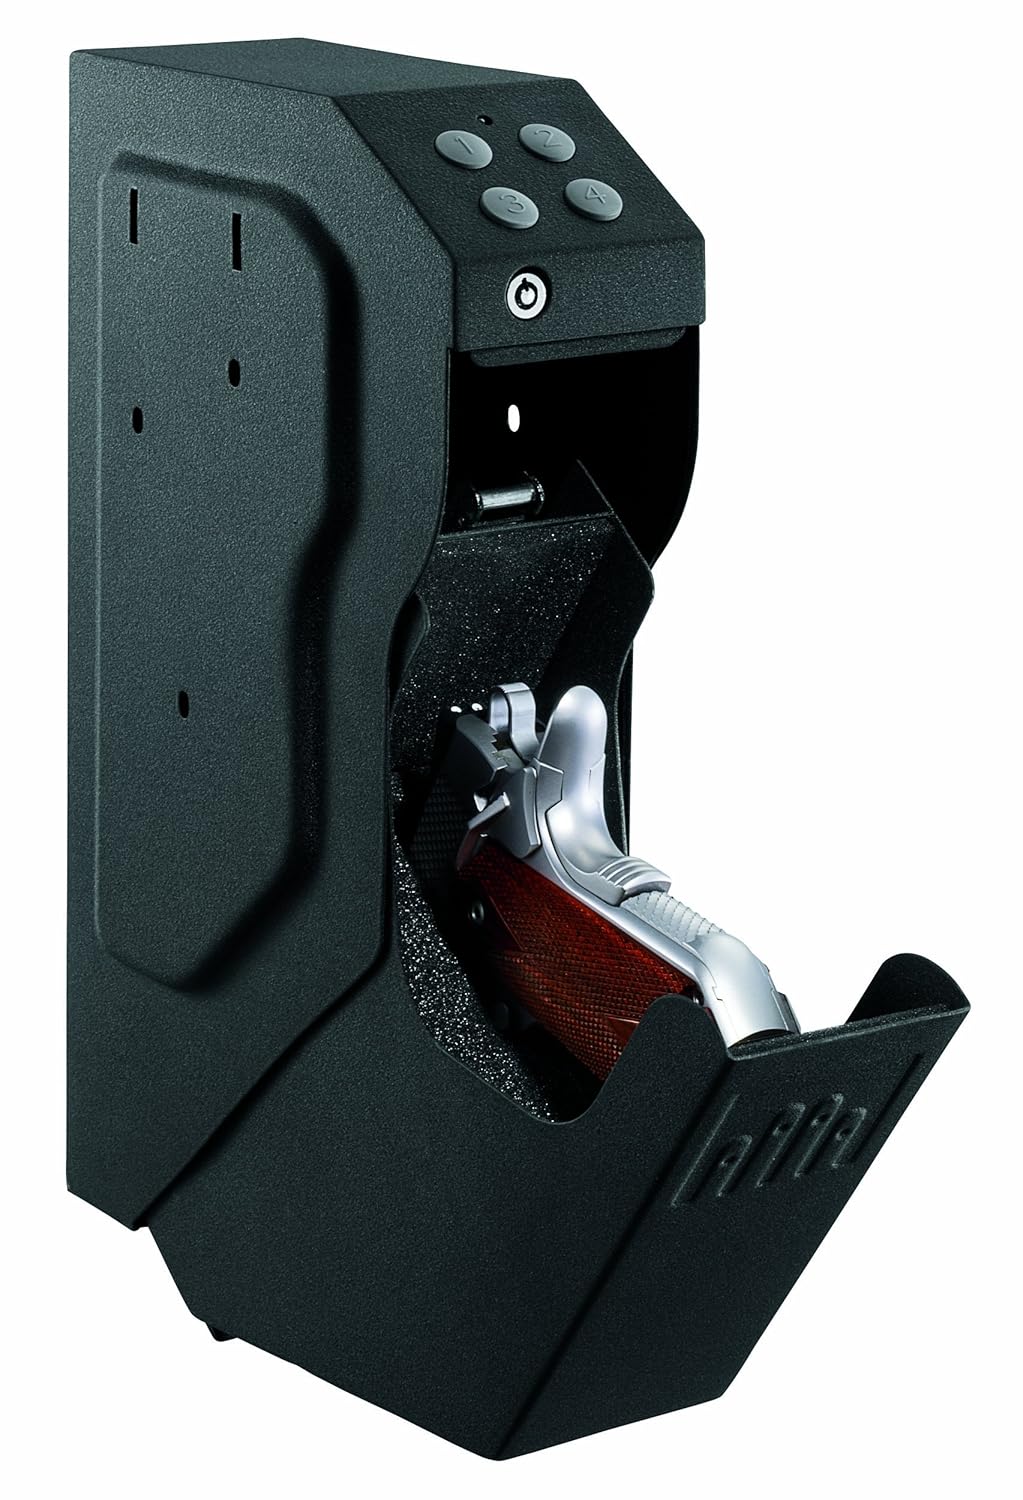
The Gunvault SpeedVault SV500 gun safe
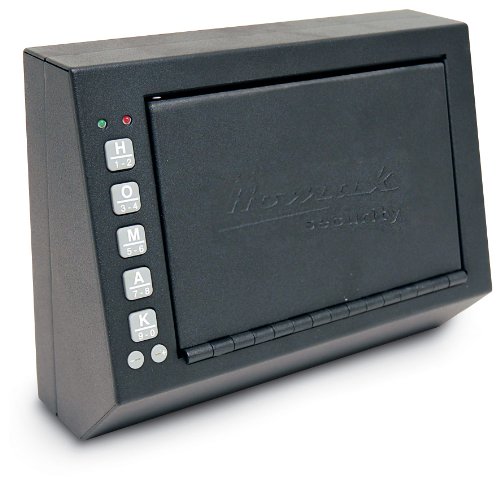
And the HOMAK HS10036683 Electronic Access Pistol Box
The Gunvault SpeedVault SV500 gun safe priced at about $150 (often on sale for less) has EVERYTHING you would want. It's easy to install, easy to use, has a key backup and when it opens a LED lights up your ready to draw pistol and you are ready to rock and roll. They even have one that just uses your fingerprint to open!
The HOMAK HS10036683 Electronic Access Pistol Box is not as fancy, does not have a key backup (but has a emergency backup in case the batteries die) and is not designed for a speedy draw of your weapon. But it's about $100 less than the SpeedVault.
In my case, being able to rapidly draw my pistol from under my desk wasn't the main concern.
Keeping a loaded handgun in my office and close but safely away from others was. So I went with the HOMAK.
Now my pistol is safely tucked away under my desk and I have peace of mind.
I still think I will purchase the SpeedVault for my home though. That is one place where I want a fast easy access gun safe that I can put beside my nightstand, next to my bed.


